The Let’s Encrypt allows you to install AutoSSL for the hostname. Here are the steps to install the same on hostname.
Install Let’s Encrypt Auto SSL Provider.
# /scripts/install_lets_encrypt_autossl_provider
Once you have installed Let’s Encrypt provider, change auto SSL provider to Let’s Encrypt from Comodo.
Login to WHM >> Manage AutoSSL.
Install Self-Signed Certificate to Hostname.
1) Login to WHM as a root user.
2) Go to “Service Configuration”.

3) Then select the following services and click on “Browse Certificate”.
Calendar, cPanel, WebDisk, Webmail, and WHM Services
Dovecot Mail Server
Exim (SMTP) Server
FTP Server

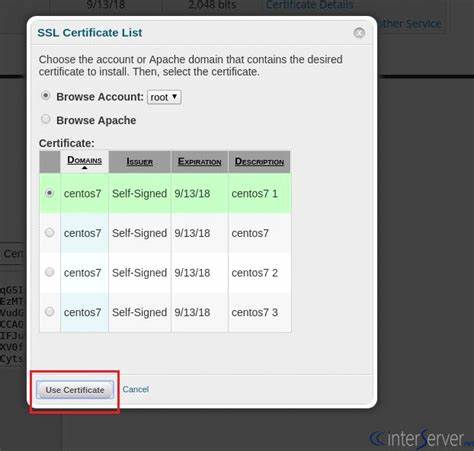
4) Select hostname and click on “Use Certificates”.
5) Then click on “Install”.
Replace Self Signed Certificates with Valid Let’s Encrypt Certificates.
Once you have installed the self-signed certificate, run the following command to check SSL certificates
# /usr/local/cpanel/bin/checkallsslcerts
The Self signed SSL certificates will be replaced with a valid Let’s Encrypt certificate while running above command.
Once it is completed, you can access WHM with the hostname https://hostname:2087